Get started with the onboarding checklist
After you sign up, artist.tools guides you through a short onboarding flow to choose your focus, add the first items you want to monitor, and land on the Dashboard with a checklist that helps you finish exploring the main features. This article walks through the entire flow.
Choose your focus
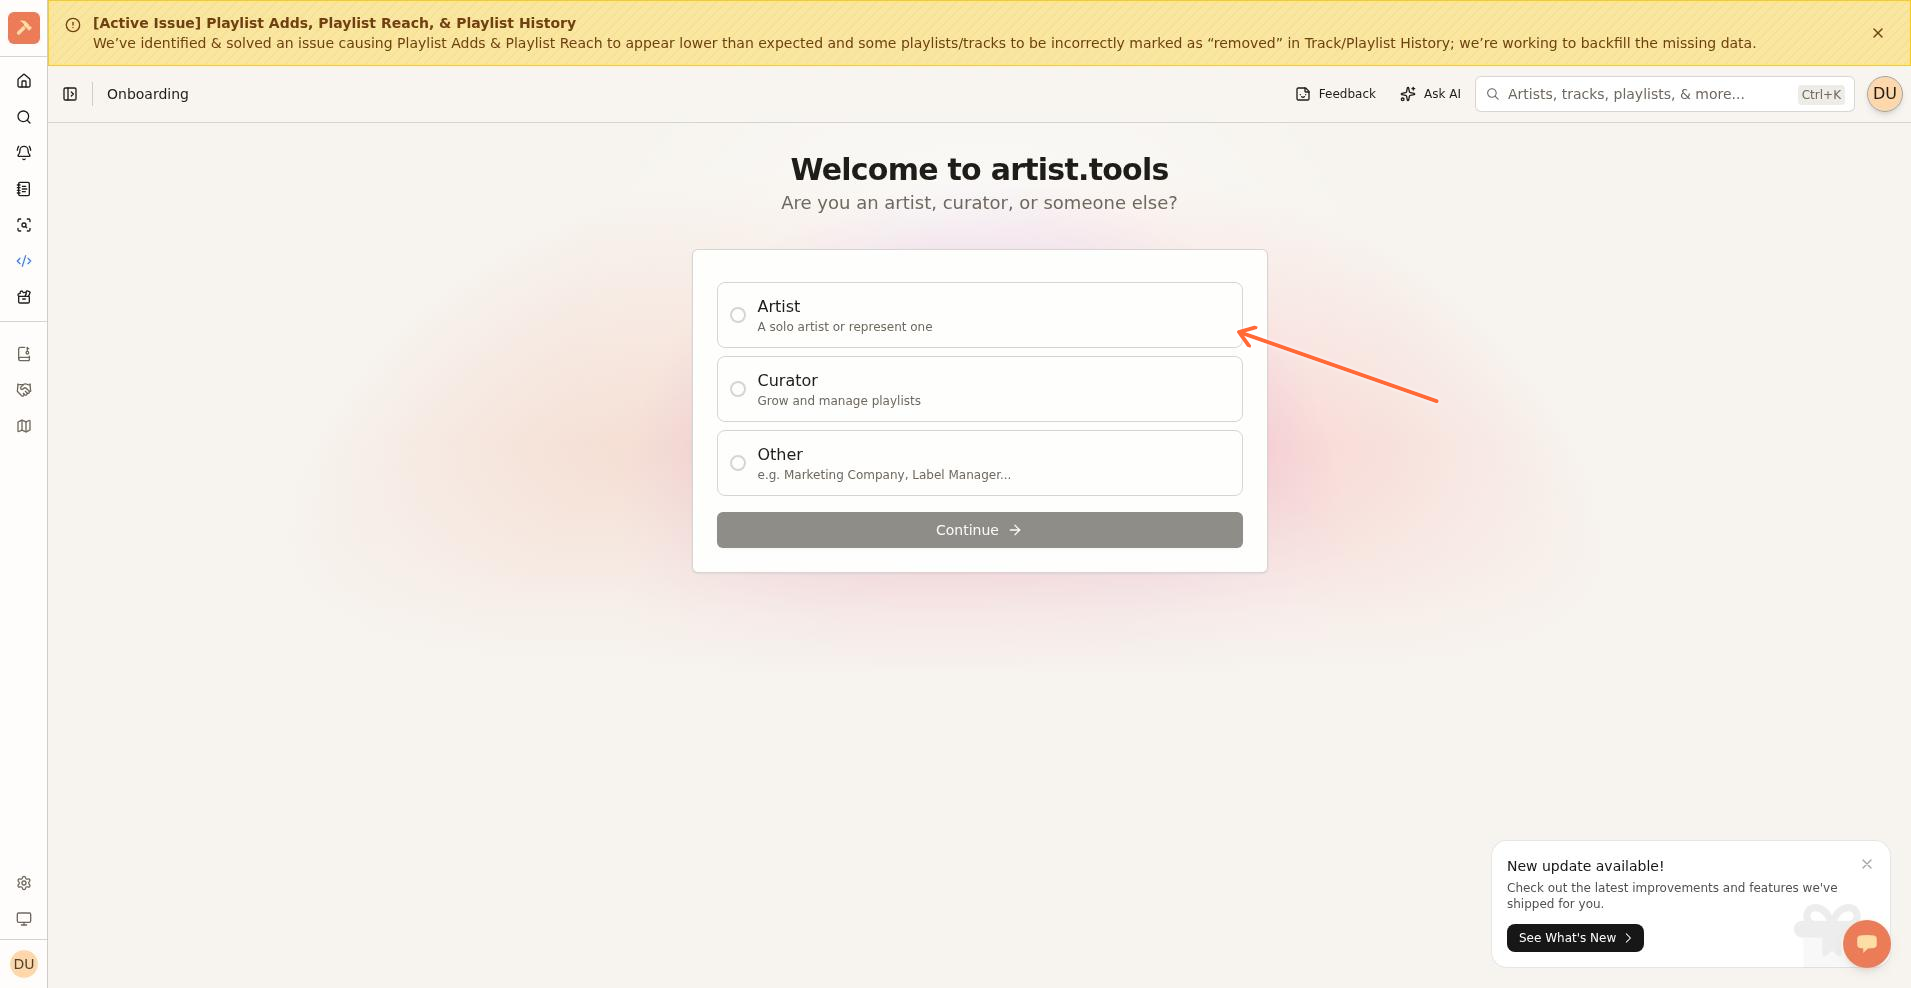
When you first sign in, the onboarding page asks you to pick a focus so the app can tailor your experience.
On the Welcome to artist.tools screen, select one of three options:
Artist — A solo artist or you represent one
Curator — You grow and manage playlists
Other — For example, a marketing company, label manager, or other role
Click Continue.
Expected result: The app saves your focus and moves you to the next step.
Add your first item
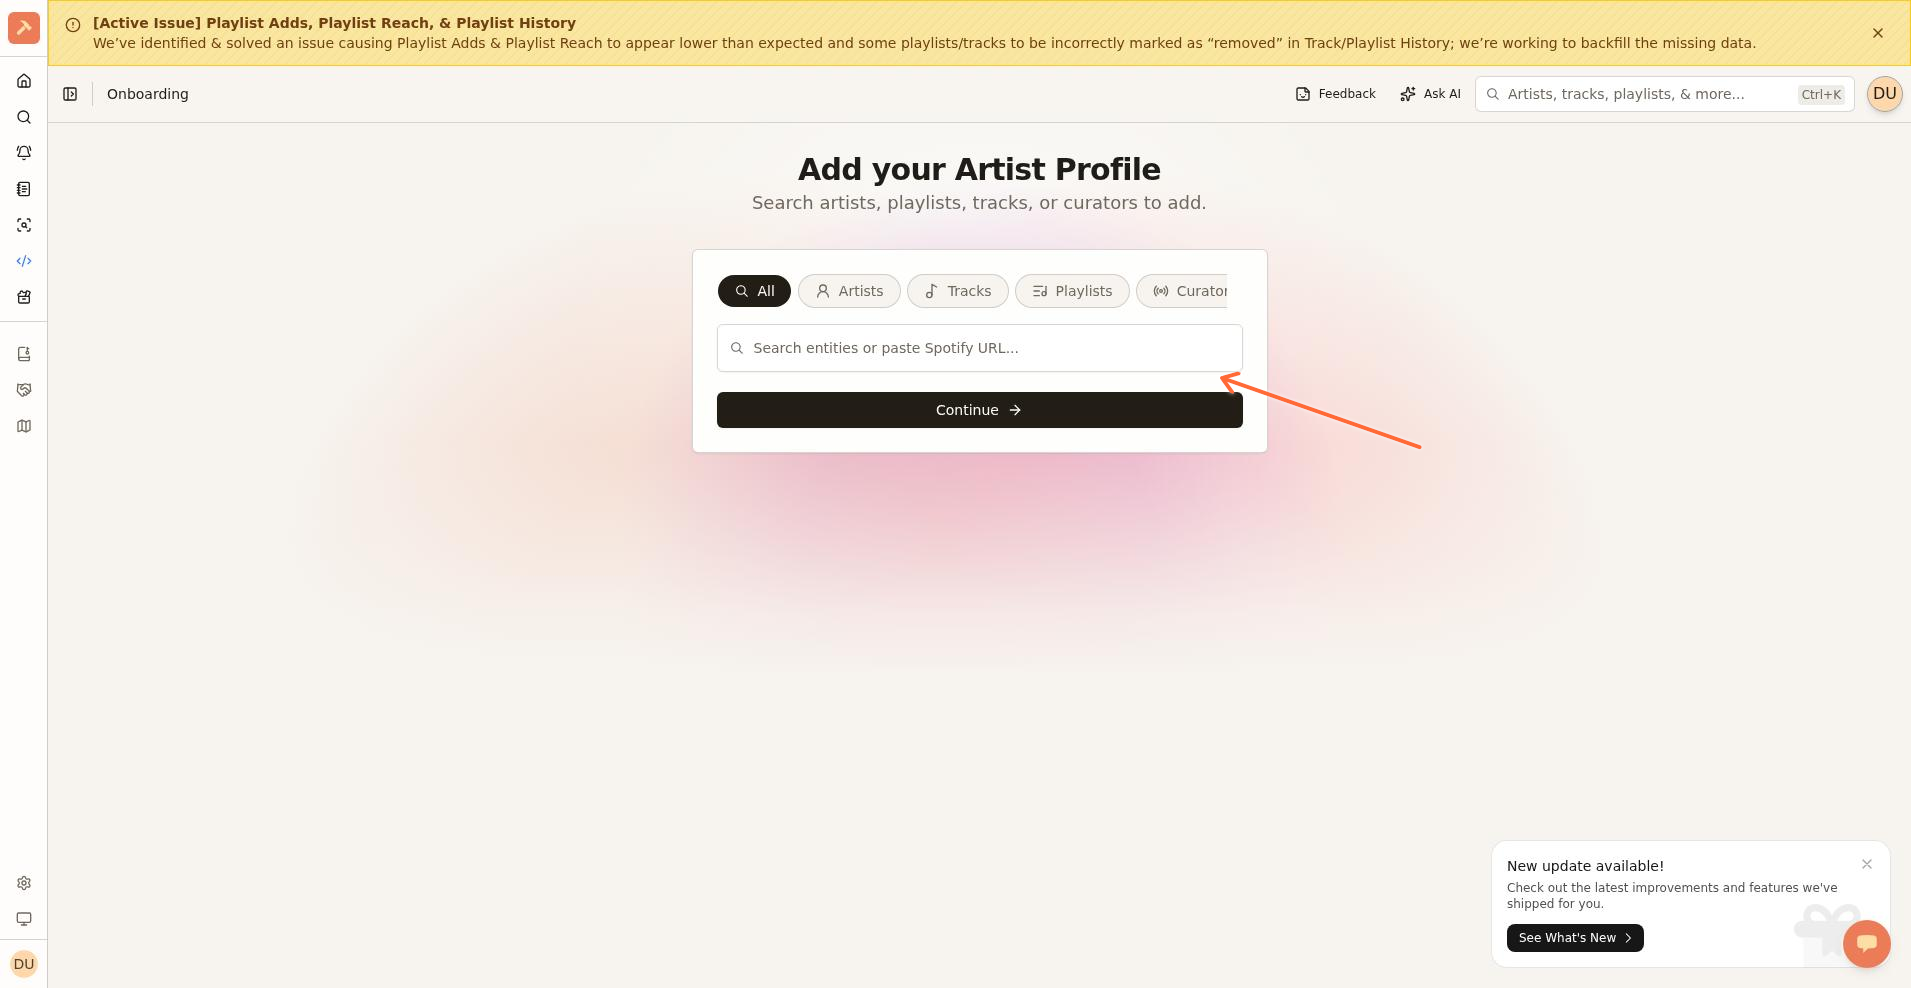
Next, the onboarding page asks you to add an artist, playlist, track, or curator to your Dashboard so you have something to monitor right away.
On the entity step, use the search field to find what you want to add.
Select the result and confirm to add it.
Click Continue to finish.
Expected result: The item appears in your Dashboard and the onboarding flow continues to the pricing step.
Skip or choose a plan
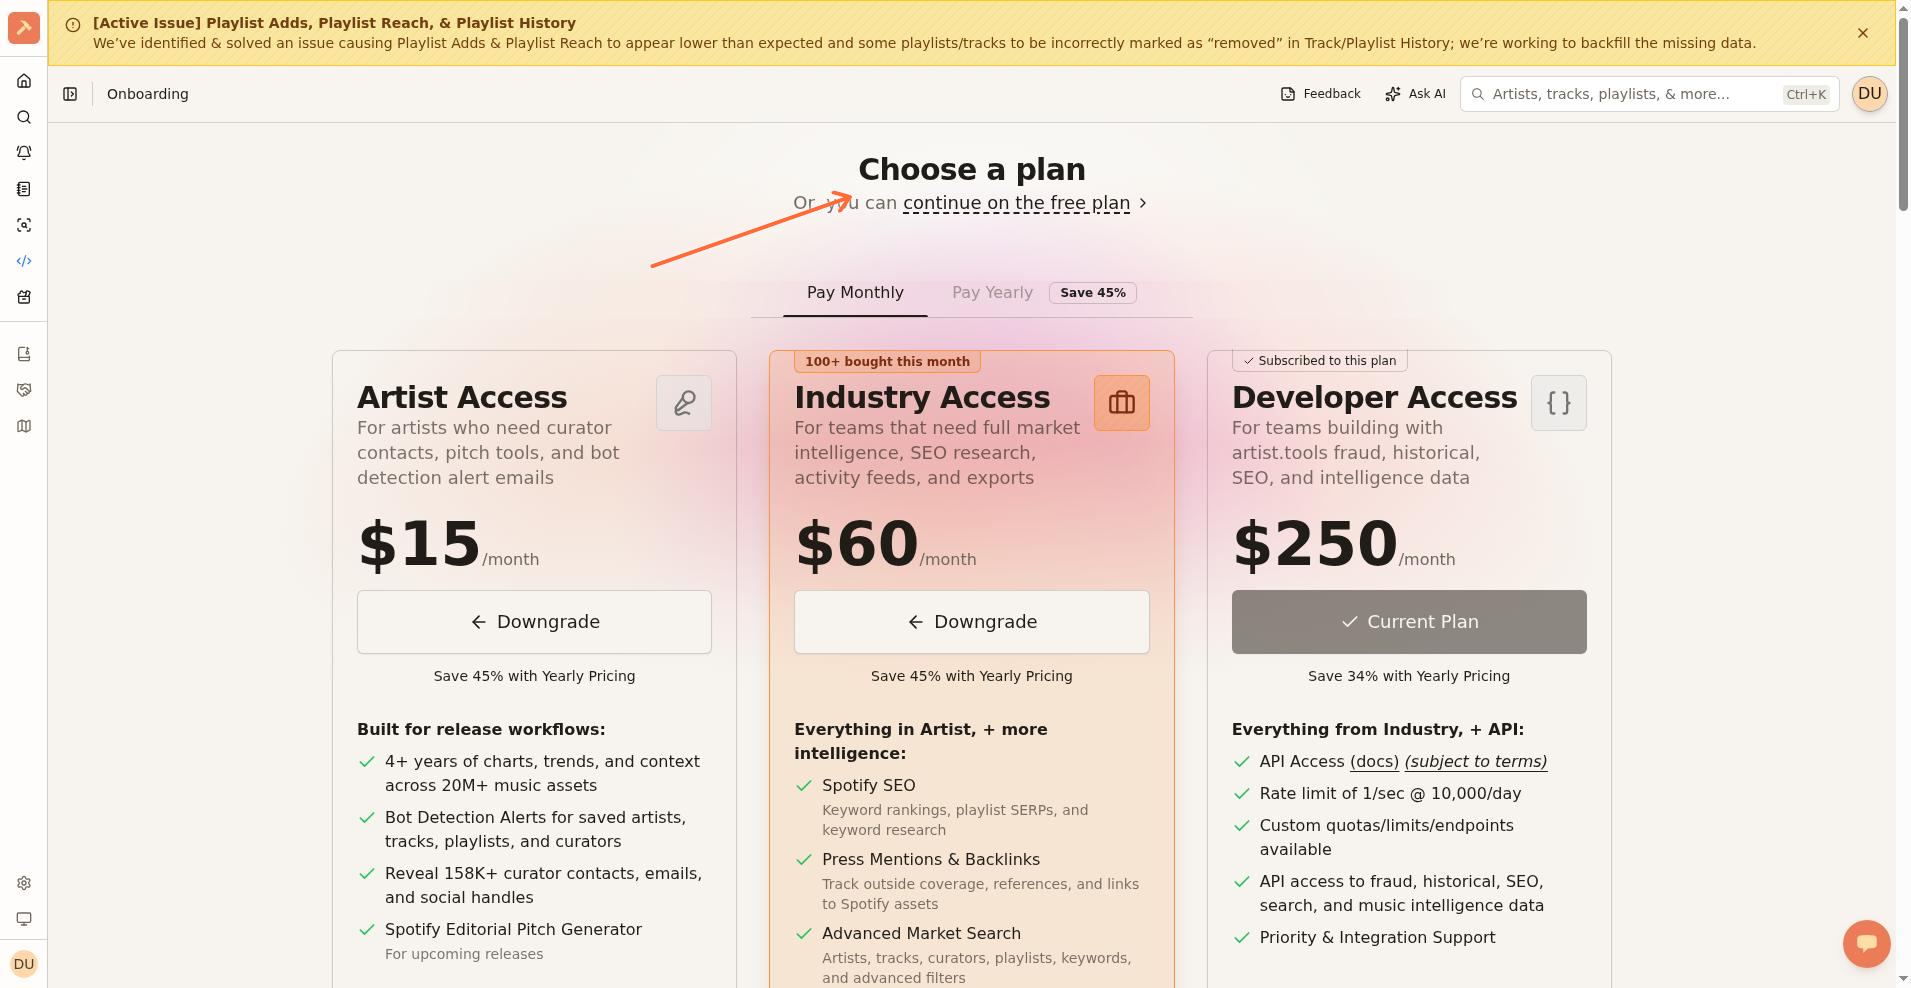
After adding an item, you see a Choose a plan step. You can select a paid plan or skip this for now.
Click continue on the free plan to skip pricing and go straight to the Dashboard.
Expected result: You land on the Dashboard with the activation checklist visible.
Finish the activation checklist
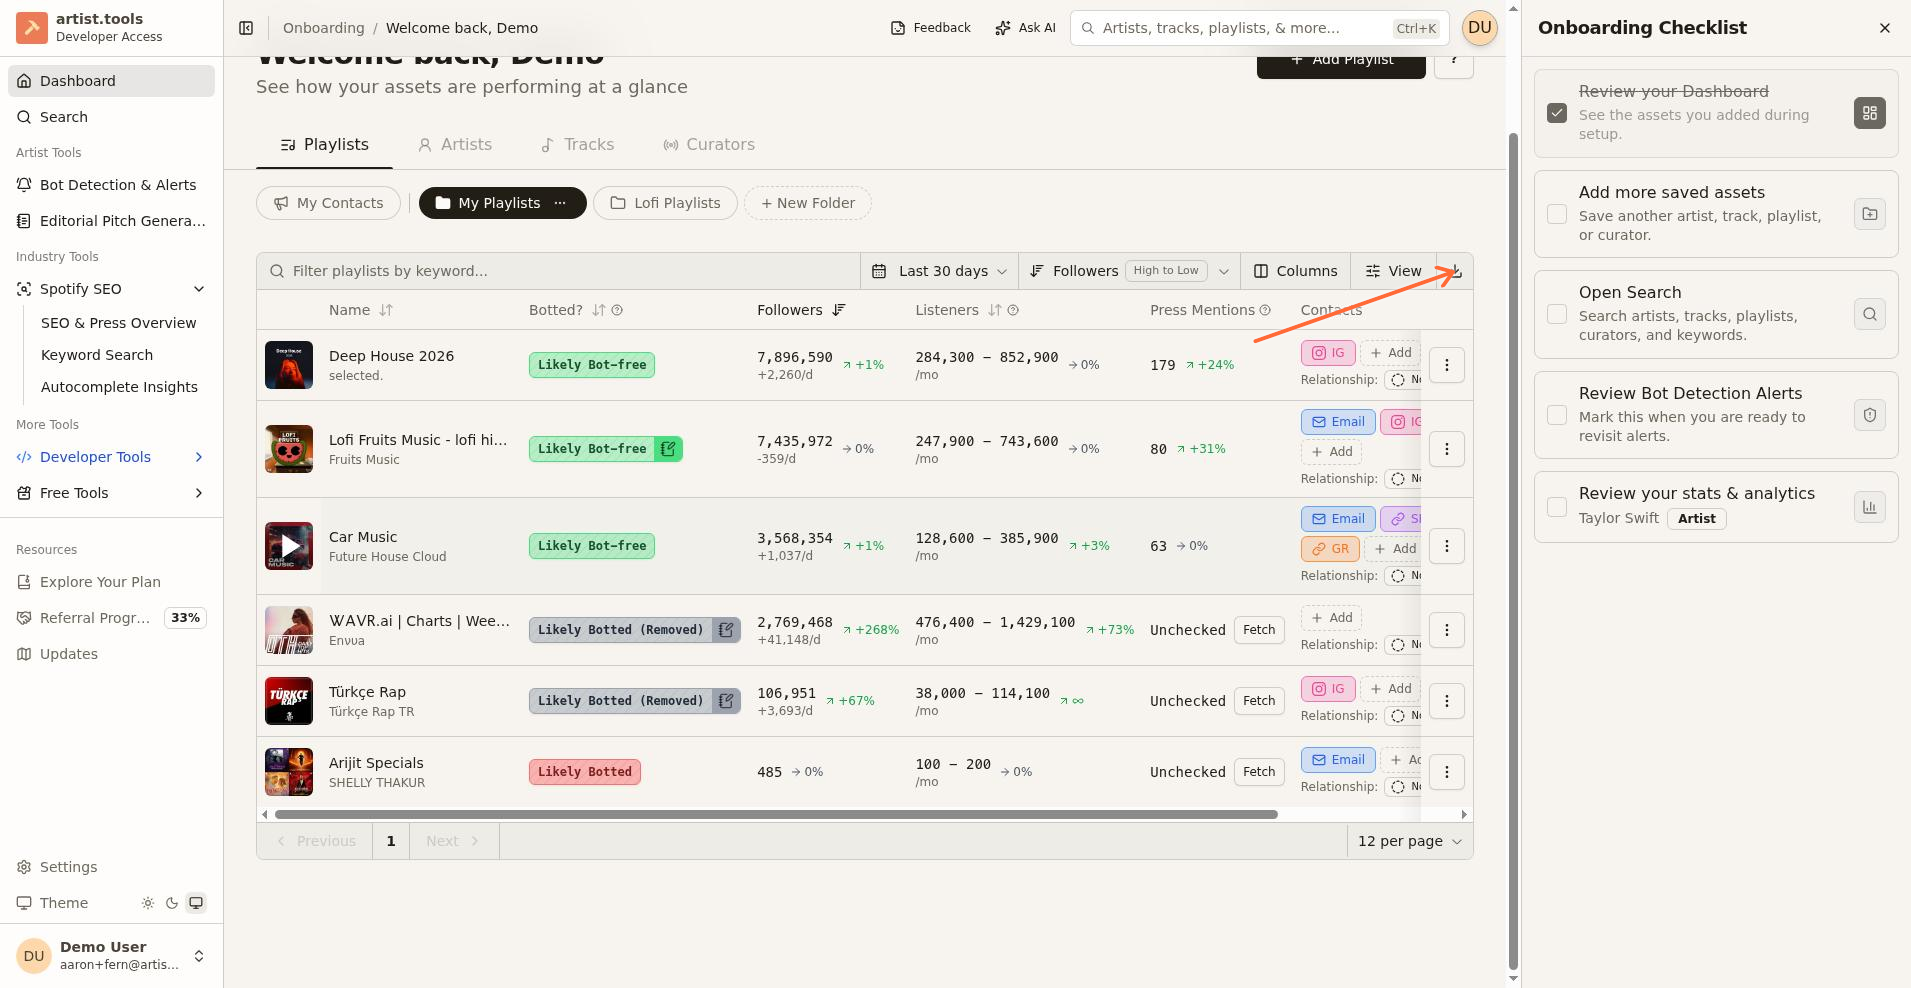
Once you are on the Dashboard, an activation checklist appears as a docked panel on the right side. It suggests the next actions to get fully oriented and marks them complete as you do them.
Common checklist items
Review your Dashboard — Visit your Dashboard to see the items you saved during setup.
Open Search — Go to the Search page to look up artists, tracks, playlists, curators, or keywords.
Add more saved assets — Save another artist, track, playlist, or curator from the Dashboard.
Review Bot Detection Alerts — Check your alert settings to monitor the assets in your Dashboard.
Review your stats & analytics — Open the profile page for an artist or playlist you saved to see performance charts.
View your SEO Dashboard — Available on Industry and Developer plans; review playlist SEO and search intelligence.
Review your Developer Console — Available on Developer plans; manage API usage and settings.
Activate API Key — Available on Developer plans; generate a key for developer access.
How items complete
Most checklist items complete automatically when you visit the page or perform the action. For example, Review your Dashboard completes when you navigate to the Dashboard, and Open Search completes when you open the Search page. Items that involve adding an entity complete after you finish the add flow.
When everything is done
Once all checklist items are complete, the dock closes and a toast appears with the title Onboarding complete and a button to Try Ask AI for questions.
What's next
Get started as an Artist — A deeper walkthrough of the artist workflow
Get started as a Playlist Curator — A deeper walkthrough of the curator workflow
Dashboard — Learn how to organize and track your saved items
Common Questions — Answers to FAQs about bot detection, plans, and more